Over the last two weeks, I have slowly been collecting supplies and things that I need to start doing my own free-hand nail art, and this past weekend I gave it a try with the first design that really caught my attention...Jasmine from the Disney animated classic Aladdin! If you haven't figured it out yet, we at All That Sparkles and Shimmers love Pinterest. Not only is it a great way to share pictures and put all your ideas and thoughts in one place, but it is a wonderful source of information. When I came across this blog article at Hairspray and High Heels on Disney Princess inspired nail art, I knew I was in love.
 |
| Photo courtesy of Fan Pop |
This one was a little more complex than the paw print art, so before I started, I got everything ready and set up before starting. Since this was my first time..it took approximately two hours from the start of removing my polish to clean up.
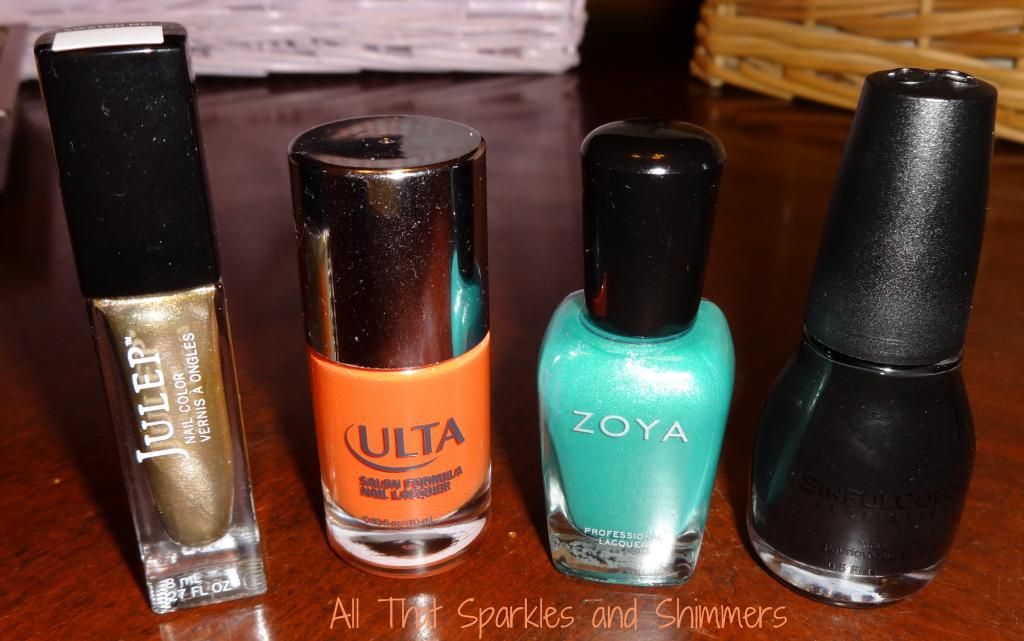
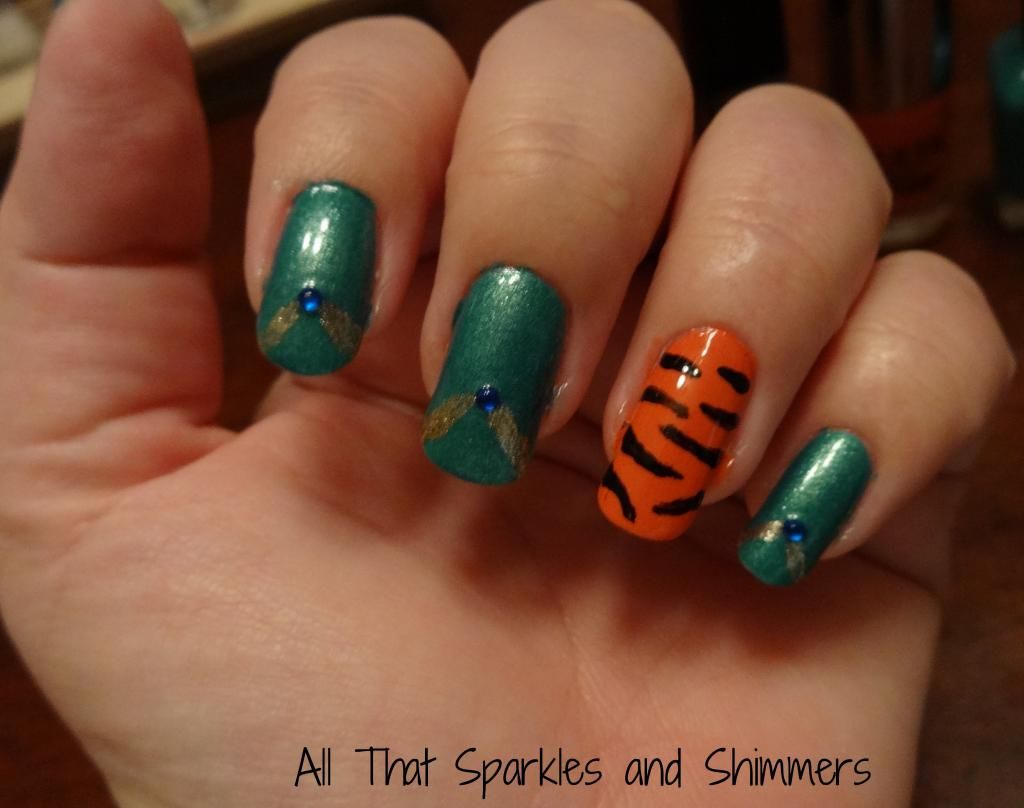
1. The first thing I did was select my polishes. For this art, you need four colors (five if you elect not to use rhinestones). I chose Zoya Zuza for Jasmine's jumper, Julep Margot for her necklace, ULTA Sun of a Gun for Raja's fur, and Sinful Colors Black On Black for Raja's stripes. I have rhinestones, so I counted out eight blue stones. A substitute if you don't want to use rhinestones is to select a metallic or glittery royal blue and use a larger dotting tool for the jewels.
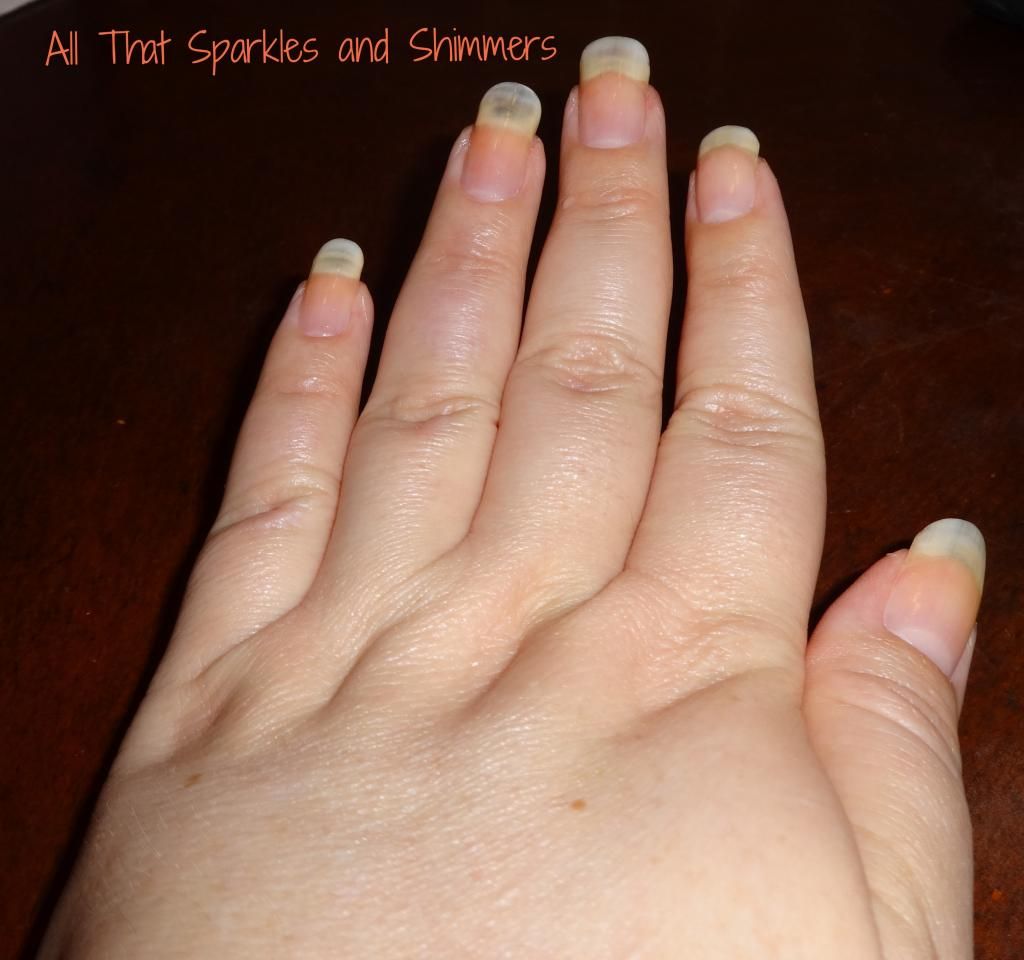
2. As always, start with clean nails. I removed my polish, treated my cuticles, washed my hands, moisturized and applied a base coat to get ready. While I was waiting for my base coat to set, I set out my tools: the tool I recently purchased to place rhinestones, a small brush for the necklace and stripes, my rhinestone glue, a small pot of acetone, and my top coat.
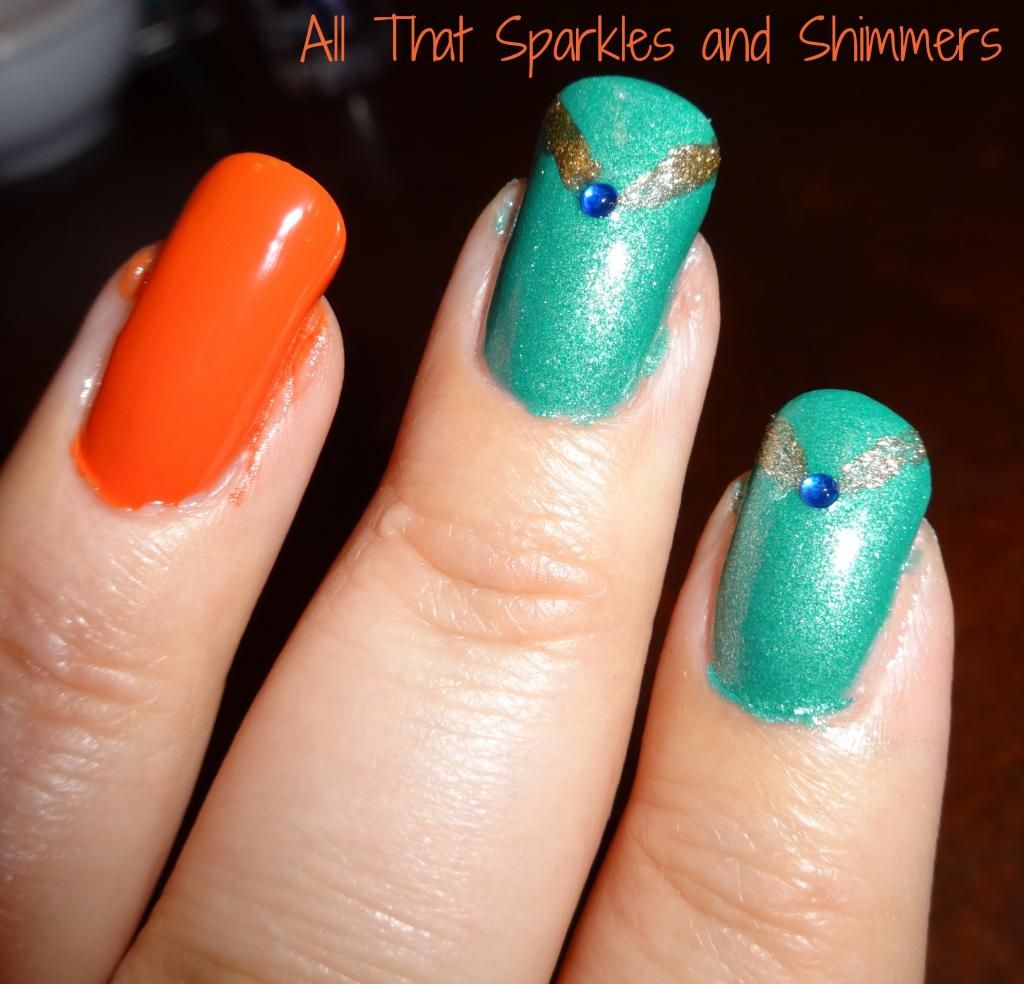
3. First, I applied my colors...Sun of a Gun on my ring fingers and Zuza on the remaining fingers. I used two coats for proper coverage and let hands set for five minutes.
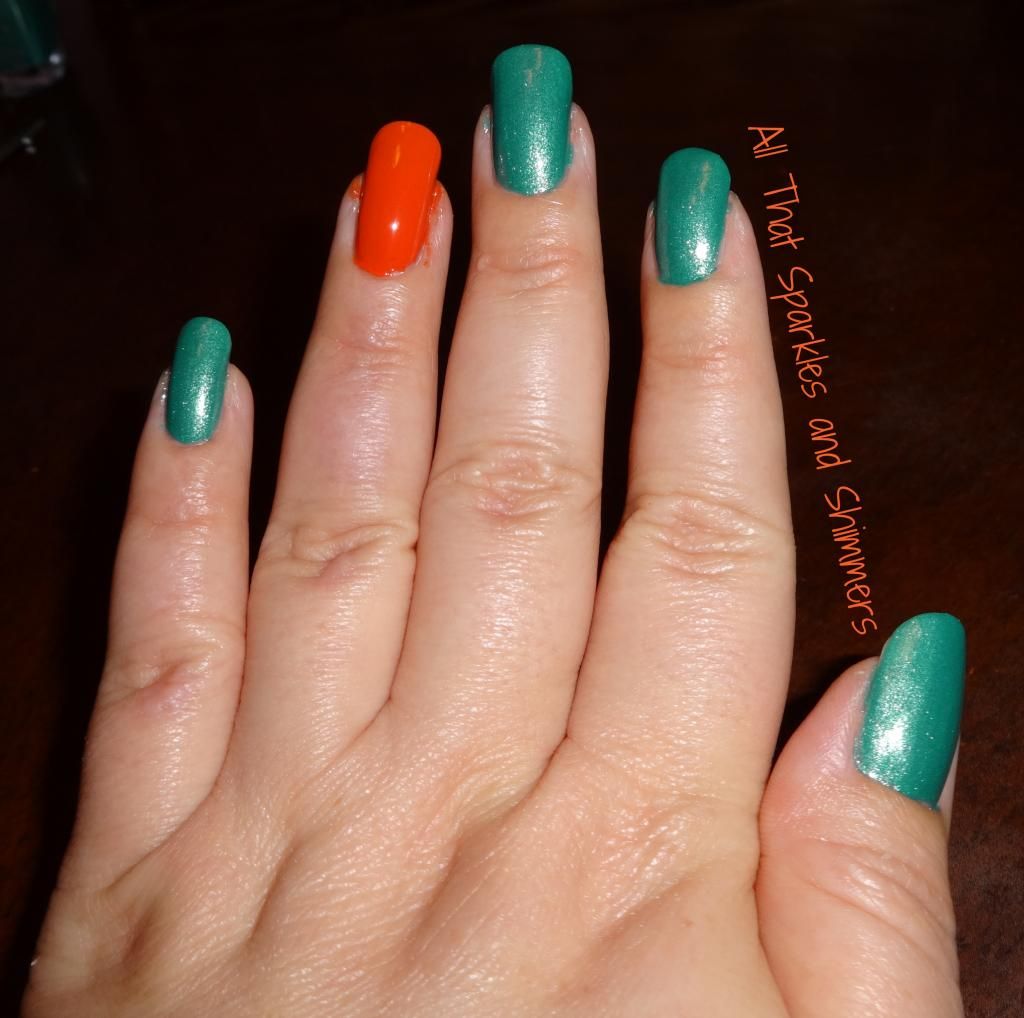

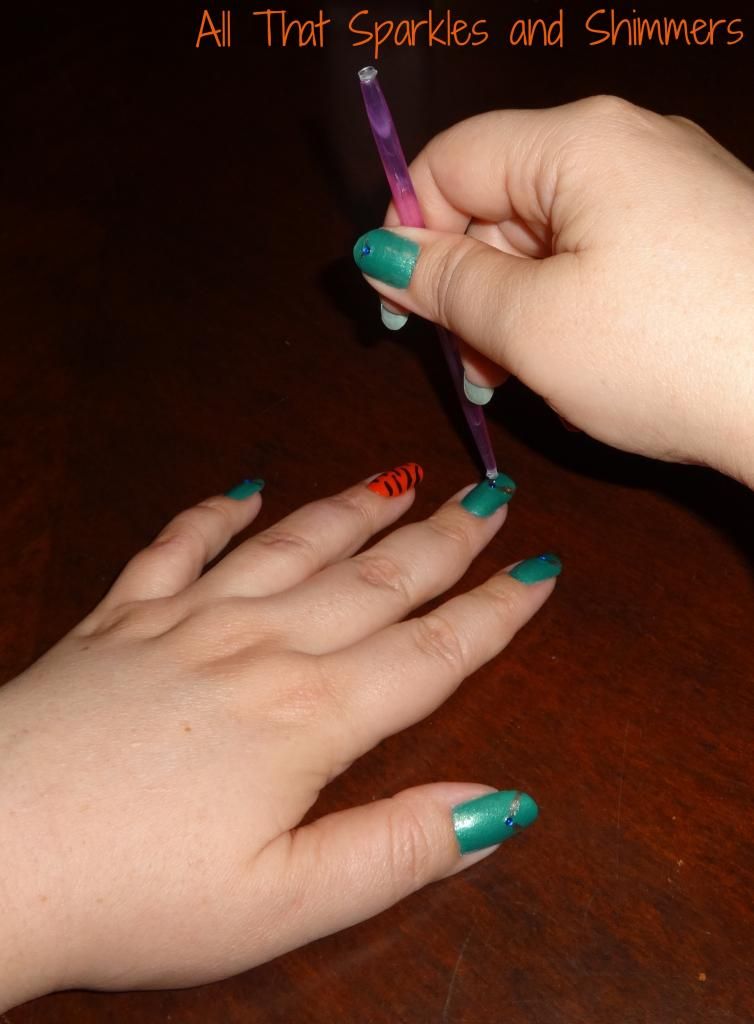 4. I then began with the jewel placement. I took the rhinestone glue and swept a tiny amount across the area where I planned to place the jewel, approximately right above the center of my nail. If your nails are excessively long, you may want to place the jewel higher. I did not blob the glue, but just instead gave the area a sticky spot for the jewel to adhere to. I immediately placed the jewel in place and repeated this with the other seven Zuza nails. After all jewels were in place, I swept another thin coat of the rhinestone glue on top to hold it firm.
5. The next step is the necklace. I chose to place the jewels first to give a little more room for error. Using the thin brush, I picked up a small amount of Margot and painted thin diagonal lines starting at the side of each jewel and sweeping up to the top sides of each nail. I gave it a second coat if a light shined on the necklace didn't show the gold gleam.
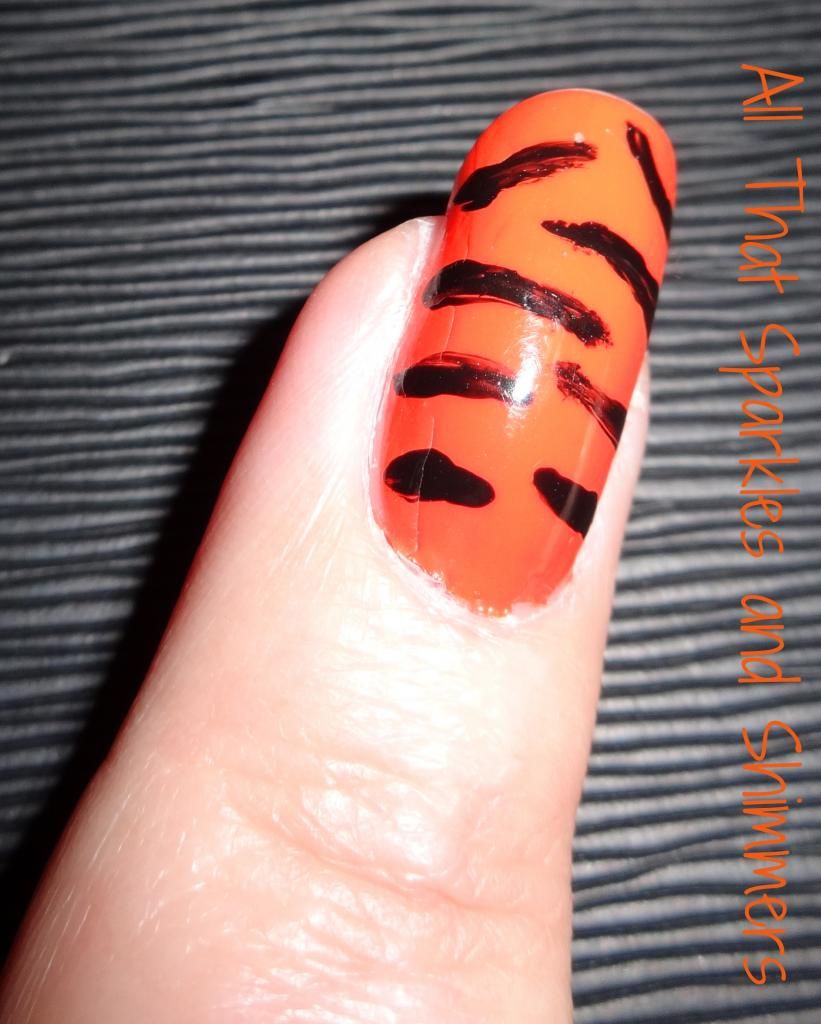
6. The last part (and most challenging) was Raja's stripes. If you have a stamper and an animal template, this could be done that way, but mine hadn't arrived yet, so I free-handed it after studying the Pinterest picture that inspired me. I picked up a small amount of Black On Black, started at the bottom at the edge of the nail, and dragged my brush towards the middle of my nail, lightening the pressure as I went. As I attached the end of the stripe, I lifted up the brush so that all of the brush that was in contact with my nail was the very tip which I used to make a skinny stripe end. I repeated this process, alternating the sides that I started on, so it looked randomly placed like on a tiger's back. At the end, I touched up any stripes that were showing orange with a little extra black polish. I repeated this process with the other nail.
7. I let my nails set and then applied my top coat and finished with a drying spray.
8. I am very new to nail art and a lot of things I am picking up from reading blogs from more experienced nail divas. However, what I discovered during this adventure is that you can actually pick up paint from the stem of your polish brush instead of pouring it out onto foil. When I was working with Margot, I just shook up the bottle well, pulled the brush out, and put paint on my detail brush from there, closing Margot in between uses. My house is very dry, and I think that if I chose to pour some out on foil, the polish would dry before I could use it.
9. Cleaning my nail art brush was harder than I expected. I wiped a lot of it off with a cotton ball, swirled it in my acetone pot, and in the end, just let it sit in my acetone pot to loosen up the bristles. I don't know if this was because the last color I used was black, but it also is darker than the other brushes now. I'm not going to worry about it, but before my next nail art, I'm going to try cleaning it with soap-free cleanser and see if that helps.
10. Finally, my parting tip to any fellow nail art novices is to allow yourself plenty of time before your first nail art mani. I was very lucky that I didn't have to wipe stuff off and start over (alright I was ready with Q-tips), but I went very slow, took my time, and made sure to have everything ready before I began. Preparation is definitely key.
This was a great design for me to start with because it incorporated rhinestones, multiple colors, and made me see how neat accent nails can be, something I've never tried before. I also got to use my rhinestone tool I just bought this week (so much better than tweezers; you need one if you work with rhinestones a lot!) and to play with my new brushes.
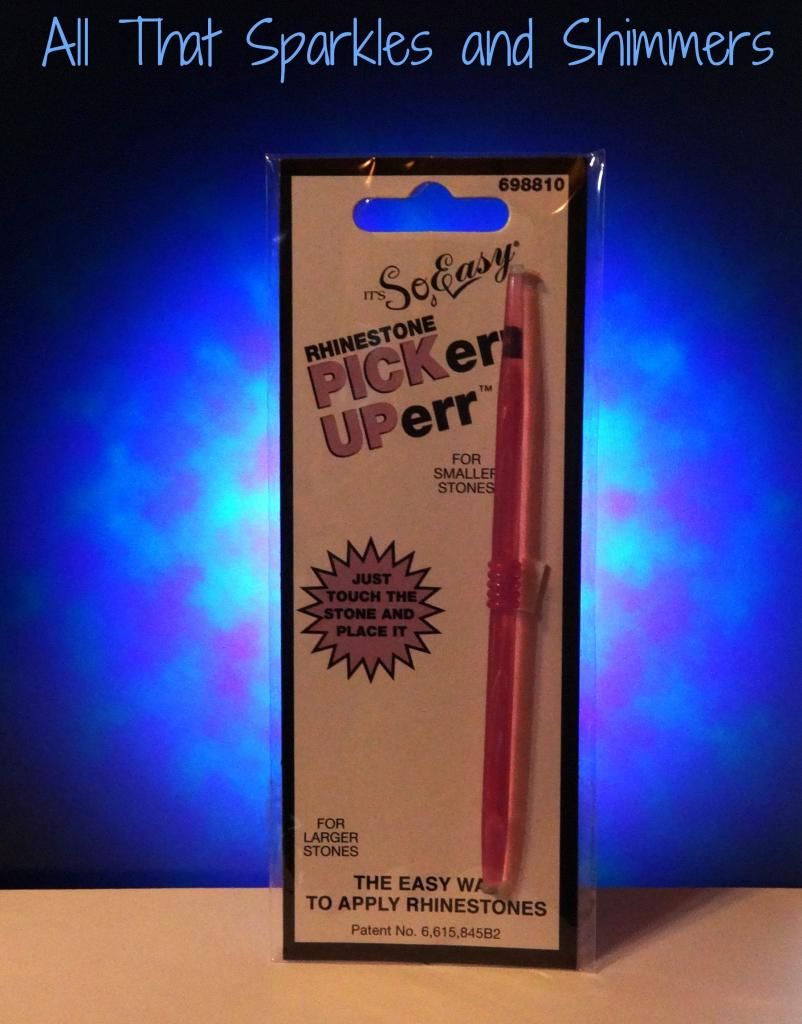
The rhinestone tool I used to place Jasmine's jewels is the So Easy Rhinestone Pickerr Uperr, and it was purchased at Sally Beauty Supply. I had only used my rhinestones twice before tonight, and both times I used a pair of tweezers or my fingernails. I wouldn't recommend either option because tweezers barely hold on to the edges of the stone and with your fingernails, you risk dropping the stone where you don't want it to go or accidentally nicking your tacky polish with your fingernail edge. This small tool is a plastic wand. I'm not quite sure how it works, but on either side, it has a plastic gummy circle of different sizes. What I did was count out the number of stones I needed into a small pinch pot, made sure they were all jewel-side-up, and then when I needed then, grabbed one with the tool and gently pushed it into place where I wanted it to go. It was perfect application and the handle allowed me to push the jewel firmly into the rhinestone glue.
The moral of tonight's story...it's a whole new world out there for me with nail art! I can't wait to try it again!
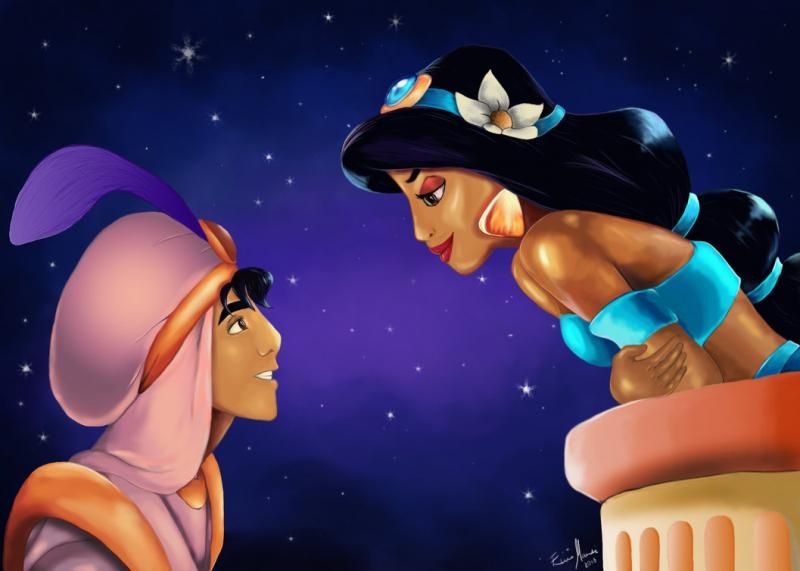 |
| Photo Courtesy of Deviant Art |
Sinful Colors is available at Target, Walmart and Walgreens. Zoya can be purchased online and also at ULTA. Margot is only available as far as I know online at Julep and ULTA Sun Of A Gun is only available at ULTA. The So Easy Rhinestone Pickerr Uperr and the So Easy For Rhinestones Only Top and Base Coat are available at Sally Beauty Supply. Everything featured in this article is on the Pinterest page for All That Sparkles and Shimmers.

So much fun! I think it turned out brilliantly.
ReplyDeleteThanks...I was really happy with it!!!
ReplyDelete