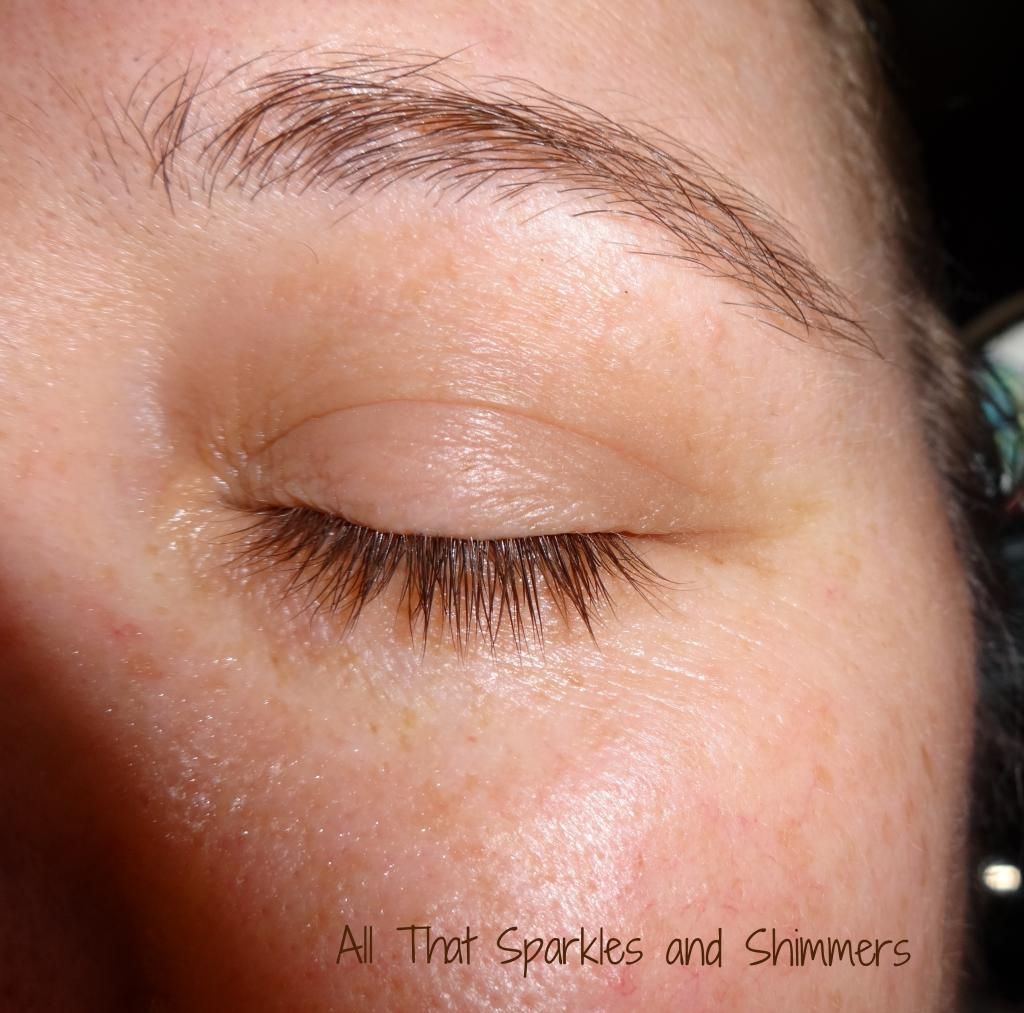
I was blessed with very long eyelashes. They are so long that when my eyes are closed, they rest on my cheeks. My sister is the same way. I have never had to even entertain wearing fake eyelashes. I'm very thankful for this blessing.
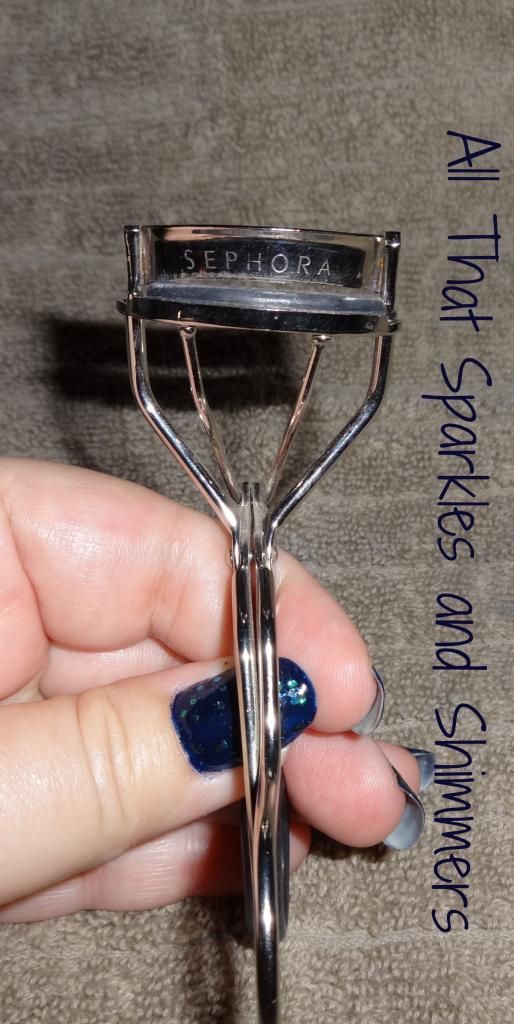
However, an eyelash curler is something that is part of my makeup routine. It's a tool that is not well known or probably even widely used. I myself acquired mine several years ago when my sister gave me an extra one that she had. I have bought a few others, like Revlon, but this one is my favorite and since it doesn't show any signs of slowing down soon, I anticipate it will be with me for a while. It is a gold-tinged metal curler by Sephora.
I admit I was a little curious about the history of the curler, so I did do a little research on Wikipedia. This cute little gadget was patented by William McDonell in 1931 with the purpose, obviously, of enhancing the appearance of the eyelash and the eye by making the eye look more wide-open and larger. I didn't even realize that until reading Wiki, you could heat up the curler with a hair dryer to help the curls stay longer. It makes sense...we use heated curling irons and flat irons for the same purpose on our hair, right?
For me, the curler serves one purpose and one purpose only, so I never ever really saw myself heating it up and then putting it that close to my eye. The reason why I use a curler is to lift my eyelashes up off my cheeks prior to putting on mascara so that half of my mascara application doesn't splat onto my cheeks when I close my eyes the first time. However, in the interest of research, I decided to try heating it up first before I used it the last time. While I admit I was terrified of getting too close to my eye with a hot metal end, the end result was very worth it. Not only did my lashes curl better, but my mascara applied better as well and it went on like butter. So, I will be including that as part of my tutorial today and practicing myself in the future to get better.
I did discover also in my research that you can actually buy self-heating battery-operated eyelash curlers. Who knew. That's not something that ever occurred to me to look for, but it makes total sense. That may be something I invest in down the road.
However, unless you have eyelashes of a decent length, I would not bother with purchasing one of these, heating or non-heating. They can be very dangerous if you aren't careful, and you do have to exercise caution in using it. If you accidentally generally clamp down on your eyelid, not only will it hurt a lot but you will create a horrible bruise since the eyelid skin is very thin and delicate. There is also the risk of causing damage to your hair follicles that your lashes grow from. Your eyes depend on your lashes to protect them from flying debris, and if you pull on your lashes to much, you can weaken your lashes or follicles or both. Just be very careful and do not attempt to do this while driving. I'll admit it...I'm very, very guilty of applying makeup while sitting at stoplights when in a rush, but I draw the line at applying mascara and curling my lashes, and after the ULTA pencil event, I'm not too sure I want to try that again either.
So...on with the tutorial.
Items needed: eyelash curler, hair dryer, mirror, eyelash comb, and mascara
1. Start with a clean eyelash curler. I do not suggest sharing curlers with people. Just like mascara, there is always the chance of infection, and our peepers are too valuable. If you are like me and inherit one from someone who doesn't use it, just wash it with hot water and soap and disinfect it with some rubbing alcohol.
2. It's not a good idea to curl lashes after you've applied mascara. Your lashes will curl better if they are clean and dry. My research also confirmed that curling your lashes with mascara may cause breakage, so curl first, mascara second.
3. If you are going to heat your curler, this is the time to do it. I found on the net that you can heat your curler two ways: soak the clamp end in hot water until hot or use a hair dryer. If you use the water method, I would suggest starting with almost-boiling water and dropping your curler in the water before you start your makeup. For the hair dryer method, which is the one I tested, I turned my dryer on high heat but low air and directed the blast at the clamp end for thirty seconds. I tested the temperature of the metal with my fingertip to make sure it was hot and also the rubber clamp cover to make sure it hadn't melted. I can't even imagine what a mess it would be to get your lashes stuck in hot rubber and I don't want to find out. Some of the web sites I found suggested using the dryer for two minutes, but I thought thirty seconds was fine.
4. Place the index and thumb finger of your dominant hand in the handle of the curler, like you are getting ready to use scissors.
5. Use your non-dominant hand to hold your arm that is holding the curler steady. I do this to make absolutely sure that my hand or elbow isn't going to cramp or slip. This is your eye you're working around, after all.
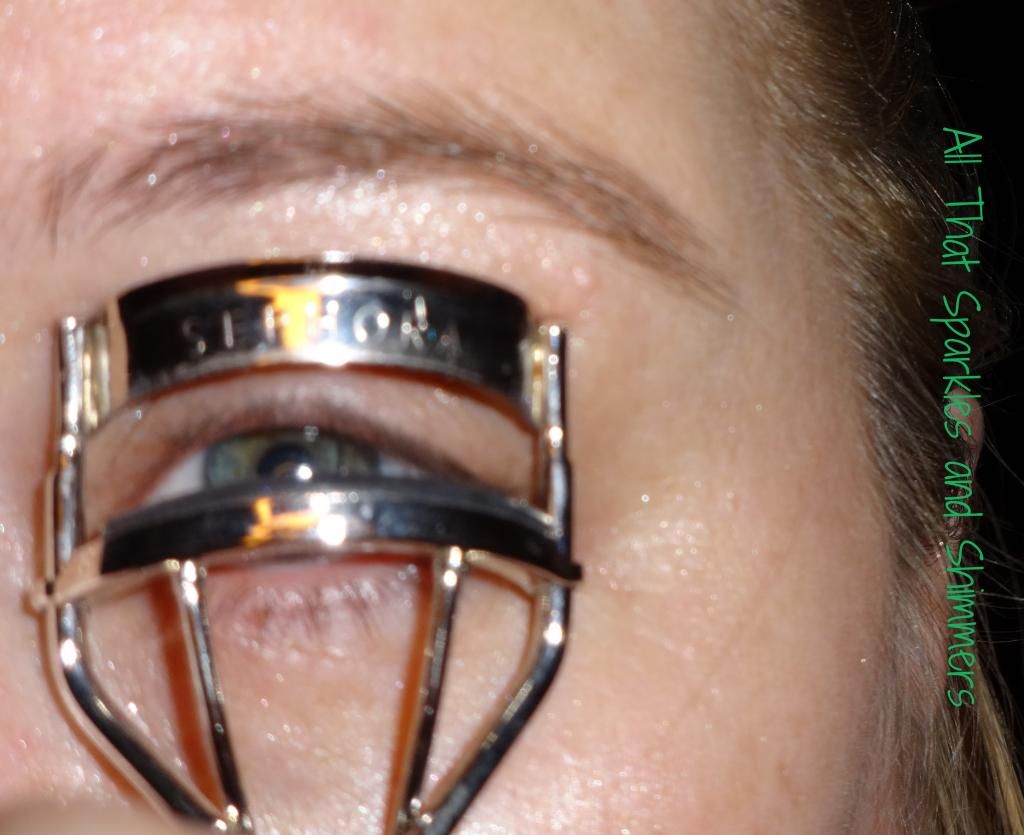
6. While looking in the mirror, move the curler so that your upper eyelash is in the middle of the clamp. Standing up in front of a wall mirror is a safe way to do this. If you are sitting at a vanity and can use a table mirror, that is also safe. I don't recommend trying to do this while holding a hand-held mirror unless you can put the mirror on a table and be hands-free.
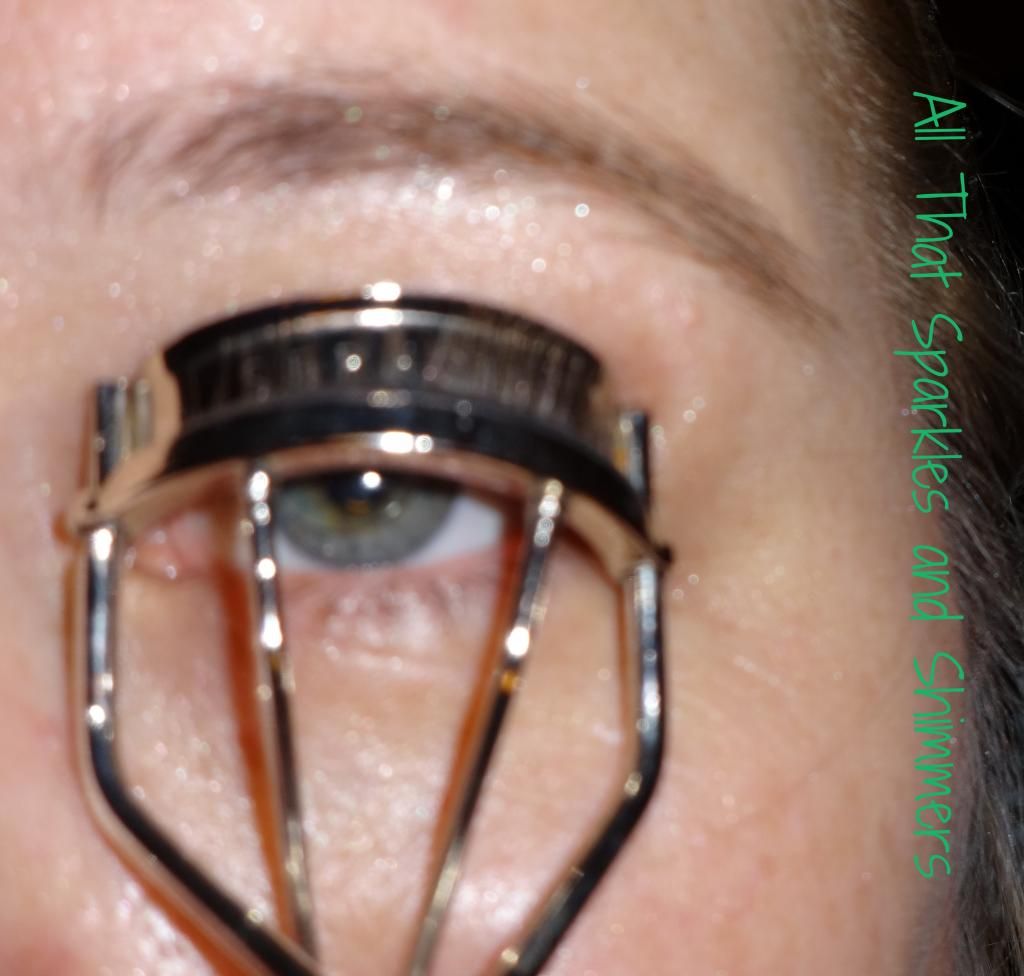
7. Carefully squeeze the curler together firmly so that your lash is captured between the bottom and top edges of the clamp. I clamp my lash right in the middle.
8. Still using your non-dominant hand to support the curling hand, hold the clamp in place firmly for five to ten seconds.
9. Release carefully and don't move your hand away until you are sure all of your lashes are free.
10. Repeat with the other eye. Don't attempt to curl the bottom lashes as they are too tiny.
11. Apply mascara as usual to the top lash by starting with your brush at the base and brushing outwards, wiggling the brush as you go to separate the lashes. Make sure you remove any excess mascara on the top of your wand by tapping it on the lip of the tube or wiping off the end with a tissue.
12. If you like mascara on your lower lashes, use the wand in a side-to-side motion to lightly apply color to these tiny hairs. If yours are in the longer side, like mine, use the wand in the traditional way but sweep down starting at the waterline rather than lifting from underneath.
13. If you like, use a lash comb to comb your lashes out to remove clumps and separate lashes.
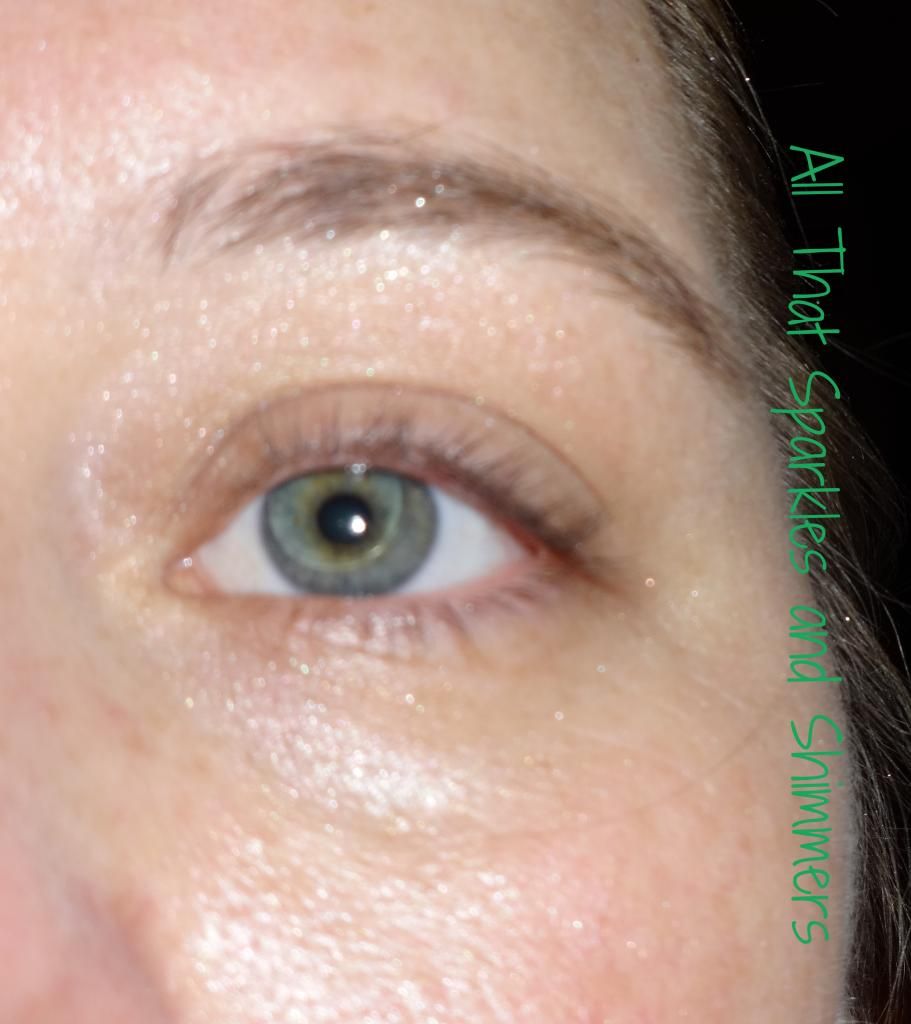
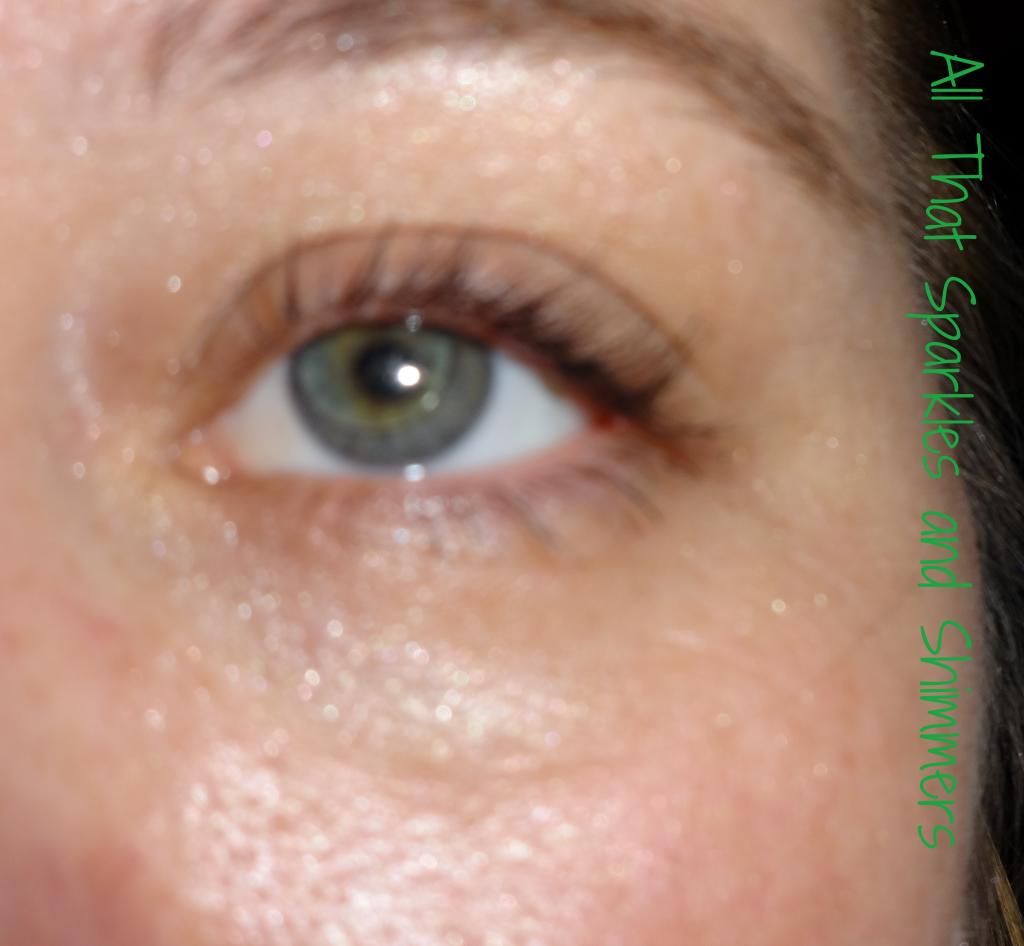
For most of the tutorial photographs, I used my curler cold. This is the shot of my lashes curled with the heated curler after I applied mascara.
I really don't feel comfortable recommending any heated curlers since I haven't tried them, but I saw several available online. I doubt that I will ever get one, because I like my Sephora curler just fine. However, if you have one that you like or try one, please let us hear from you!
This is the one I have, and judging from the number of reviews, I'm not the only fan. This Sephora curler is available for purchase in the store and online for $17.00.
The mascara I used in both photographs is Bare Escentuals' Lash Domination; it is available in the Bare Escentuals boutiques, Sephora and ULTA for $18.00.
My lighted makeup mirror is by Conair and purchased at Bed Bath and Beyond. It has two views; one regular mirror and one magnified. A coupon would bring the price down, but it retails for $59.99 at Bed Bath and Beyond.
My hair dryer is an Andis Professional 1875 Ionic Ceramic hair dryer. I honestly don't recall where I bought it, but it is available at a number of retailers, and on Amazon for $41.32 if you are a Prime customer.
My lash comb is by Bare Escentuals. I actually just ordered this last night from Amazon for $6.44 after seeing my mascaraed lashes up close, so I'll review its usage later.
All of the items listed in this article are pinned on our Pinterest board. I hope this article was helpful to you. I certainly learned a lot by researching! Enjoy and be careful with your curler!


Thanks for the tutorial! Excellent information. I guess I am doing it right, I just have pathetic lashes! LOL I'm hoping the lash comb I got will help them separate and look fuller.
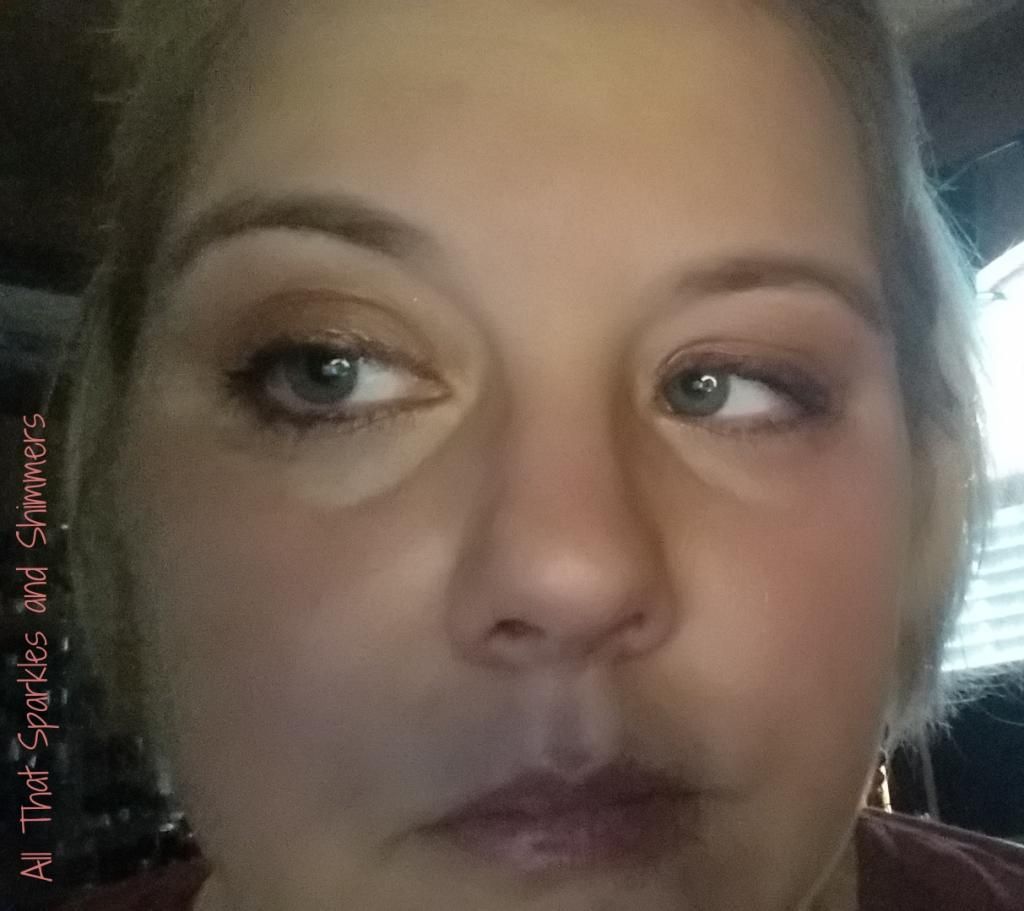
ReplyDeleteI had no idea you could heat up an eyelash curler! I did it for the first time and the results are great! Thanks for all your fantastic tips. Fun to see a picture of you too, pretty lady! :-)
ReplyDeleteSo glad you both enjoyed the article! I'm really excited about the results of heading the curler as well and looking forward to getting my lash comb. Looks like we are all learning something new. Thank you for the compliment on my picture, Patricia! I hope you are both enjoying the blog and please, keep coming back to read!
ReplyDelete